Daimyo Hermitaurダイミョウザザミ (Daimyōzazami) |
|
|---|---|
 |
|
| Enemy Type | Large Monster |
| Species | Carapaceon |
| Threat Level | 5⭐ |
| Elements | |
| Ailments | |
| Weakness | |
| Resistances | |
| Location(s) | Flooded Forest Shrine Ruins Sandy Plains The Jungle |
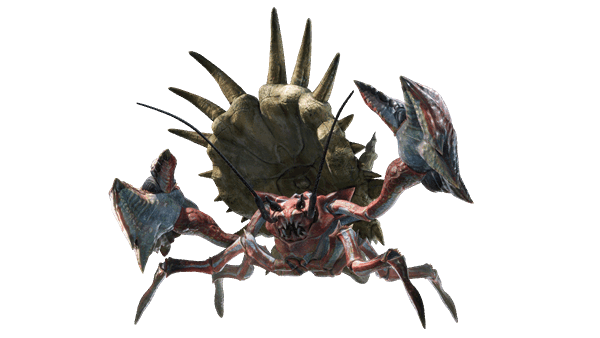
Daimyo Hermitaur is a Large Monster in Monster Hunter Rise (MHR). Large Monsters such as Daimyo Hermitaur are hostile and are usually the primary objective of Hunts. They provide valuable Materials when defeated.
Daimyo Hermitaur Monster Guide: Characteristics, Weaknesses, Drops, Locations, Weapons & Armor, Strategies, Tips & Tricks and more to help you defeat Daimyo Hermitaur in MH Rise.
- Daimyo Hermitaur became available with the release of the Sunbreak Expansion.
Fearful, fidgety Felynes
Advancing through the night
When suddenly out of nowhere
A horrid face causes fright
Be calm, there's no need to cry or moan!
It's just some old weather-beaten bone!
Yet not all is what it seems
For below this giant skull
Hides a devious monster
Waiting for some prey to gull
MH Rise Daimyo Hermitaur Characteristics & Locations
Large Carapaceons that live in coastal regions and sandy soil. Daimyo Hermitaurs use their massive claws to guard themselves against enemy attacks. These creatures wear wyvern skulls on their backs, unlike the shells carried in their infancy. These shells serve not only as protection, but also as a method for attacking prey. They are highly valued for their materials—their brains in particular.
- Class: Carapaceon
- Size: ♕ 446.35 ~ ♕ 610.01
- Small Monster version: Hermitaur
- Hostile at close range or it sees you hunting Hermitaurs closeby.
- Attacks other monsters: Yes
- Found in:
Flooded Forest
Shrine Ruins
Sandy Plains
The Jungle - Turf War(s):
vs. TBC - Target of Quests:
Anomaly Research: Daimyo Hermitaur
MH Rise Daimyo Hermitaur Combat Info
Daimyo Hermitaurs' weak point is their head. Attacking it will inflict massive damage, so focus your attention there. However, they will use their gargantuan claws to defend themselves and to protect this soft spot. Using a Sonic Bomb when they adopt a defensive position is an excellent tactic to "crack the shell to get the nut inside."
- Threat Level: ⭐⭐⭐⭐⭐
- Elemental
 Water Damage monster
 - Inflicts
 Waterblight
 - Weak to
 Thunder
 - Resistant to
 Dragon (Immune)
 Water
Water - Kinsect Extracts:
- Red: Kinsect Extract info to be added
- Orange: Kinsect Extract info to be added
- White: Kinsect Extract info to be added
- Item Effectiveness:
- Effective: TBC
- Ineffective: TBC
- Enraged Mode: Enraged info goes here
- Rampage: Rampage info goes here
Quick Combat Tips
- Aim for the head but always keep the pincers in check.
- It's back is very resistant and attacking it from the side is not very efficient nor safe.
MH Rise Daimyo Hermitaur Attacks & Moveset
Tunnel Dash - Digs down entering into the ground and quickly comes out at the location of its target attacking upwards.
Side Swipe - Whenever Daimyo Hermitaur is attacked from the side, it quickly attacks the hunter with its pincers while walking towards them.
Prey Catch - Tries several times to jump around entering into the ground coming out and jumping againuntil it catches a target. If the target is caught, it makes multiple scissor attack until it lets go.
Canonball - Jumps high up and lands down slamming the ground with its whole body.
Water Beam - Drinks some water and spits a thin water beam while moving its side.
Crab Hug - Quickly walks forward and attempts to hug a target closeby with its pincers.
Downwards Hook -Jumps and throws a heavy attack from the air to a target penetrating the ground.
Armored Capsule - Hides its own body behind its pincers and the huge skull making its body smaller, baiting the hunters to simply attack it with melee attacks, to suddenly swing at them.
Daimyo Hermitaur Weaknesses
The table below indicates the various body parts of Daimyo Hermitaur and the damage values for each Physical Damage type. These values indicate the effectiveness of attacks that deal these damage types. The higher the value, the more effective the attack. Note that Weapons can vary in the types of Physical Damage dealt depending on the moves used.
| Daimyo Hermitaur Parts | |||
|---|---|---|---|
| Head | 50 | 60 | 45 |
| Torso | 40 | 50 | 30 |
| Shell | 22 | 40 | 25 |
| Right Claw | 25 | 30 | 15 |
| Right Leg | 35 | 40 | 30 |
| Left Claw | 25 | 30 | 15 |
| Left Leg | 35 | 40 | 30 |
| Arm | 40 | 45 | 30 |
The table below indicates the various body parts of Daimyo Hermitaur and the damage values for each Elemental Damage type. These values indicate the effectiveness of attacks that deal these damage types. The higher the value, the more effective the attack. Certain Weapons can have Elemental Damage properties which are added into the damage calculation along with their Physical Damage type.
| Daimyo Hermitaur Parts | |||||
|---|---|---|---|---|---|
| Head | 30 | 10 | 35 | 20 | 0 |
| Torso | 15 | 5 | 20 | 10 | 0 |
| Shell | 20 | 5 | 25 | 10 | 0 |
| Right Claw | 35 | 5 | 20 | 10 | 0 |
| Right Leg | 15 | 5 | 15 | 10 | 0 |
| Left Claw | 35 | 5 | 20 | 10 | 0 |
| Left Leg | 15 | 5 | 15 | 10 | 0 |
| Arm | 15 | 5 | 15 | 10 | 0 |
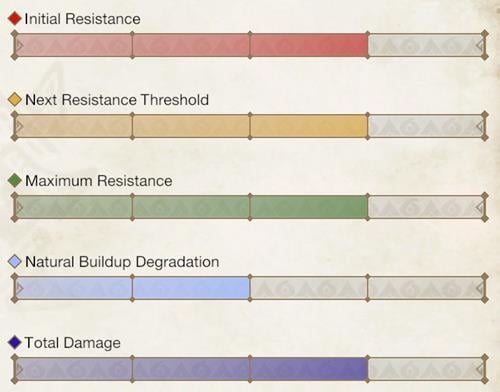
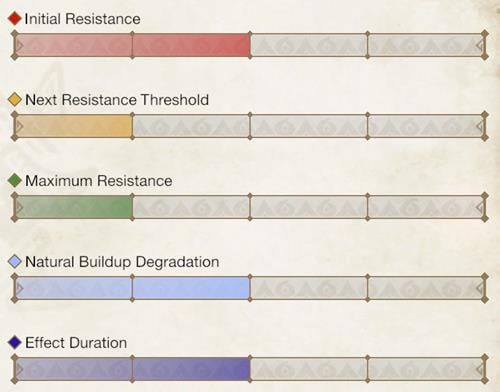
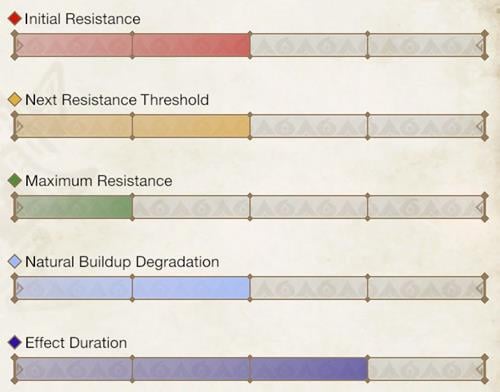
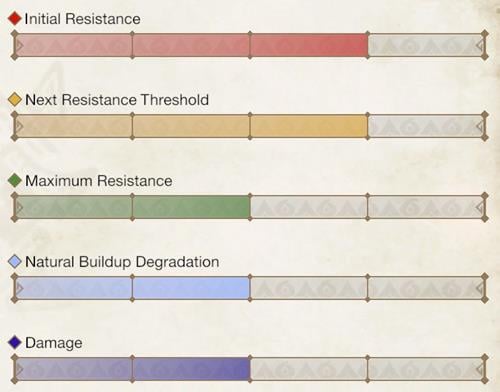
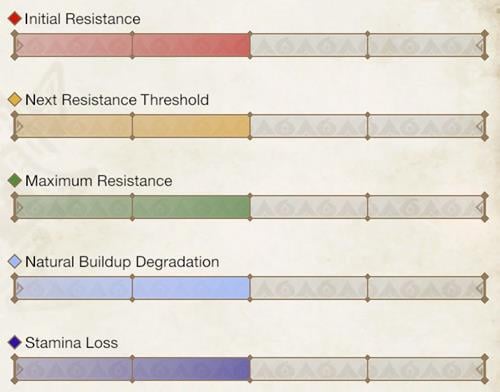
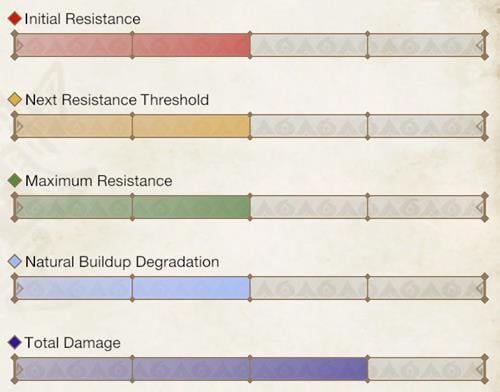
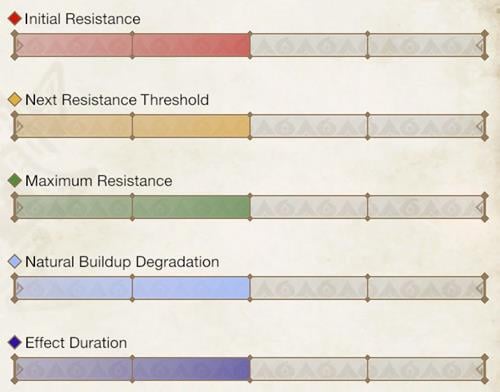
Daimyo Hermitaur Ailment Effectiveness
The higher the bars on the graphs and the more stars, the more advantageous it will be for the player.
MH Rise Daimyo Hermitaur Materials
The tables below contains information on the different Items and Materials that can be obtained from the Low Rank, High Rank and Master Rank versions of Daimyo Hermitaur.
Master Rank
The table below indicates the various materials or items obtained from the Master Rank version of Daimyo Hermitaur. It also includes the percentage chance of acquiring the materials.
| Material | Target Rewards | Capture Rewards | Break Part Rewards | Carves | Dropped Materials |
|---|---|---|---|---|---|
| 32% | 45% | -- | 45% (Body) | 80%[x1], 20%[x2] | |
| 43% | 22% | 70%[x2] (Claw), 30%[x1] (Claw) | 33% (Body) | -- | |
| 15% [x2] | 8% [x2] | 10%[x2] (Shell) | 12% (Body) | -- | |
| 10% | 15% | -- | 10% (Body) | 20% | |
| -- | 10% | 90% (Shell) | -- | -- | |
| -- | -- | -- | -- | 80% | |
| -- | -- | 20% (Anomaly Quests) | 20% (Anomaly Quests) | -- |
Low & High Rank
This Monster is only available in Master Rank content.
MH Rise Daimyo Hermitaur Weapons & Armor
The following are Weapons & Armor related to Daimyo Hermitaur.
Weapons
 Daimyo's Warbow
 Daimyo's Warbow +
 Crab Buster
 Crab Buster +
 Heavy Crab Buster
 Striped Shell
 Striped Shell +
 Daimyo Pincer
 Crab Cutter
 Crab Cutter +
 Daimyo Cutter
 Bone Claw Lance
 Bone Claw Lance +
 Red Lord Lance
 Scissor Gunlance
 Scissor Gunlance +
 Scissor Cannon
 Scissor Axe
 Scissor Axe +
 Megatalon Shears
Armor
MH Rise Daimyo Hermitaur Buddy Weapons & Armor
The following are Palico and Palamute Weapons & Armor related to Daimyo Hermitaur.
Palico
Weapons
Armor
Palamute
Notes & Trivia
- Revealed with the "A New Frontier" trailer released on June 14, 2022
 Anonymous
 Anonymous
Is the horn really only a 90% drop if you break the shell? Cuz Iv broken it twice now and I still haven't gotten it.

 Anonymous
 Anonymous
 Anonymous
 Anonymous




 Shell Intoner
 Shell Intoner +
 Crab lntoner
Hit its weak point!
0
+10
-1